Wooden Boat People
By McKenzieDriftBoat.com
Bottom Re-Finish
I decided tonight to start a blog about my process for refinishing the bottom of my drift boat. I have learned a lot from all the fine folks on this forum since I first joined last fall, and decided that a little chronicle of my process and decisions might help someone else in the future.
Here's a couple things I've learned so far:
- I really believe it is important to avoid running glass over the chine cap, for all of the reasons stated by others in the many posts on the subject. You will see in my photos how I convinced myself of this first hand.
- The surface of a boat may look great (especially one that was refinished and painted by someone before you), but you can't judge a book by its cover.
- I really do love wood drift boats
. . . so here goes, photos with as brief of narrative as I can.
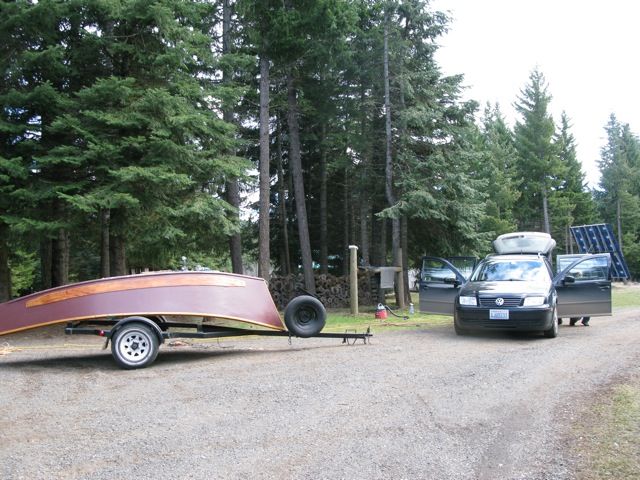
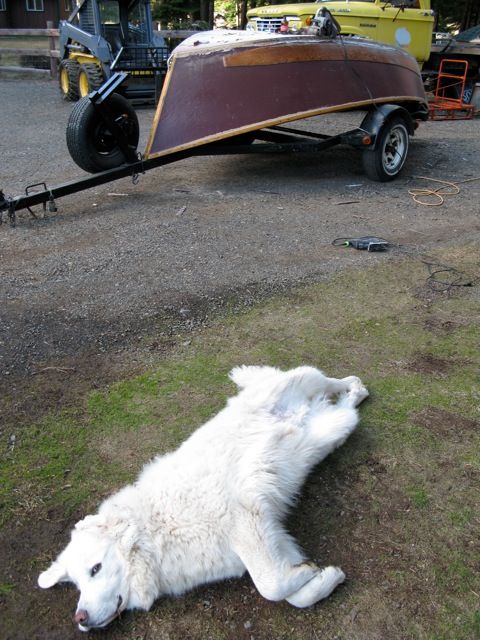
1. The boat: the great curves look even better upside down somehow!
2. Bottom didn't look too bad, when I first looked at the boat on the trailer, I figured a bit of time sanding and then new coat(s) of epoxy/graphite or Coat-It. Chine caps seemed to be in good shape, so I thought I'd maybe just deal with replacing them later.
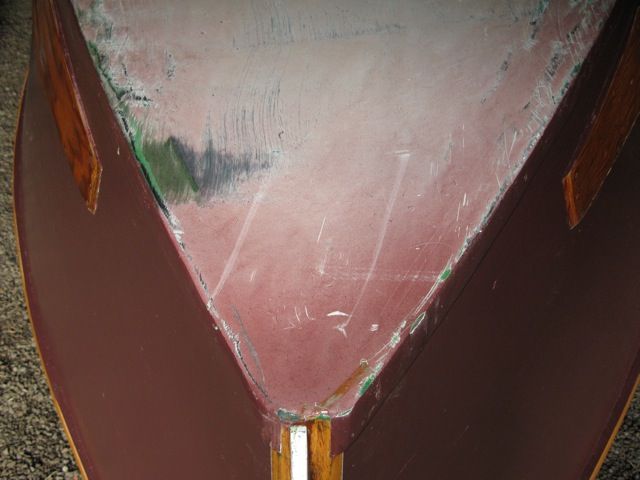
3. Closer inspection convinced me otherwise: see the obvious damage and de-lamination of the fiberglass.
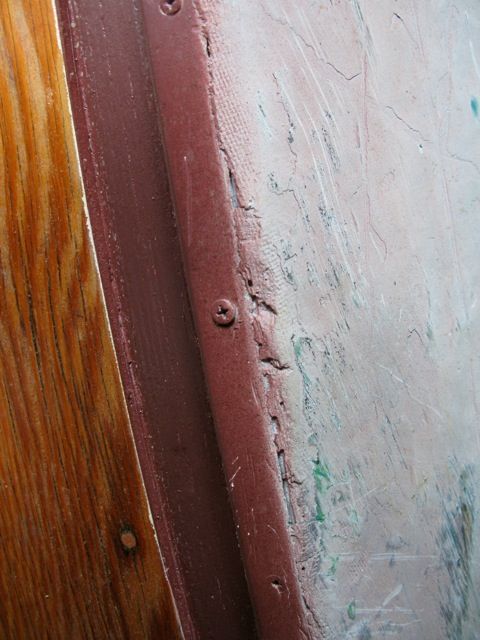
4. Time to remove metal strips. Most of the screws were damaged to the point where removing them with a screw driver/gun was impossible. I had used a wire wheel on a cordless drill to strip paint from all screw heads. Turns out it was easy to remove the metal strip by simply prying it off (I was not trying to save it). The screws just pulled right out of the oak chine cap . . . looks like water had been seeping in for some time. This also revealed the crappy shape of the chine cap underneath.
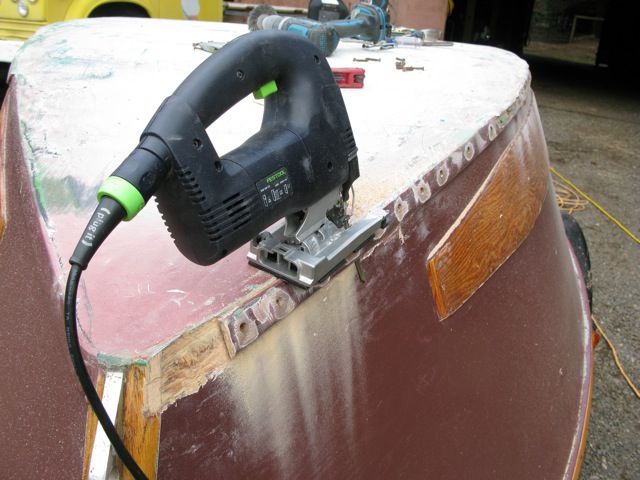
5. Chine Cap removal. I adjusted my jig-saw to match the angle of the side relative to the bottom (it was something in the mid-20s as I recall), and started cutting from the stem back. Pretty easy with the recip. setting low (to keep from tearing the fiberglass mesh), watching the bottom of the blade to make sure it was just kissing the boat side. Actually, I intentionally set the saw at just a slightly smaller angle than the side so that I erred on the side of leaving a little too much chine cap 'up' at the surface of the boat bottom (which would be sanded off later with a belt sander). I did not want to cut into the outer ply of the side plywood.
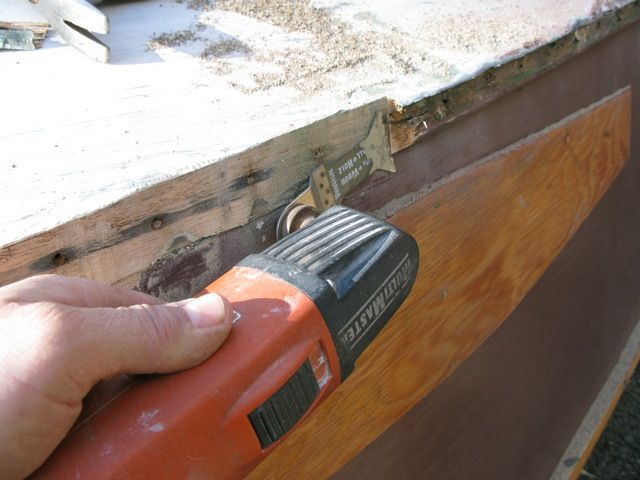
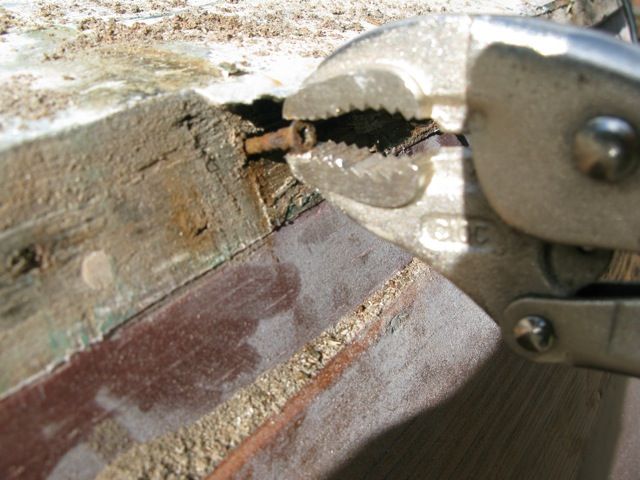
6. Removing screws that couldn't be turned out with a driver. When I got to screws that I had not been able to turn out, I used one of three methods: 1: hack out chine cap if it was soft enough and turn out with a vice-grip, 2: cut off with a Fein Multi-Master, or 3: throw a metal-cutting blade in the jigsaw (two options pictured below). One thing I didn't want to do is try and pry the chine cap off and de-lam the side plywood, or tear/crack the fiberglass out into the bottom. I wanted to end up with a clean edge on the glassed bottom.
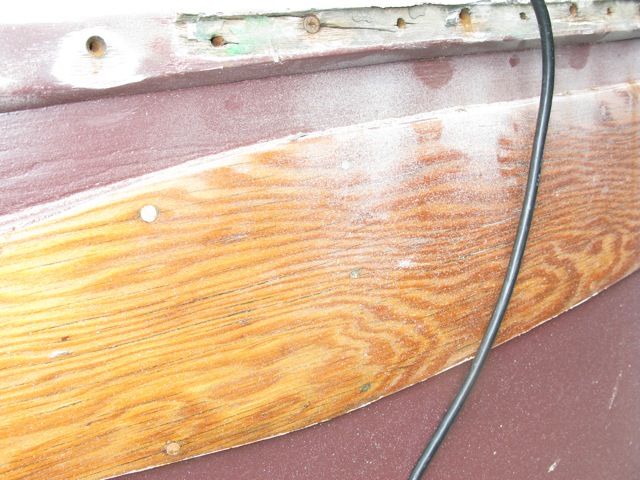
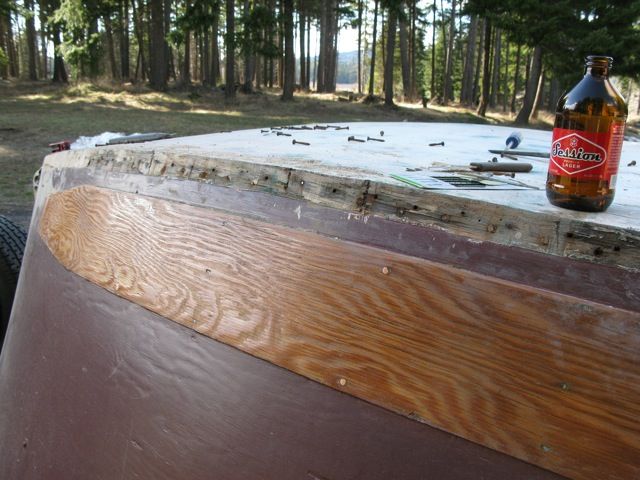
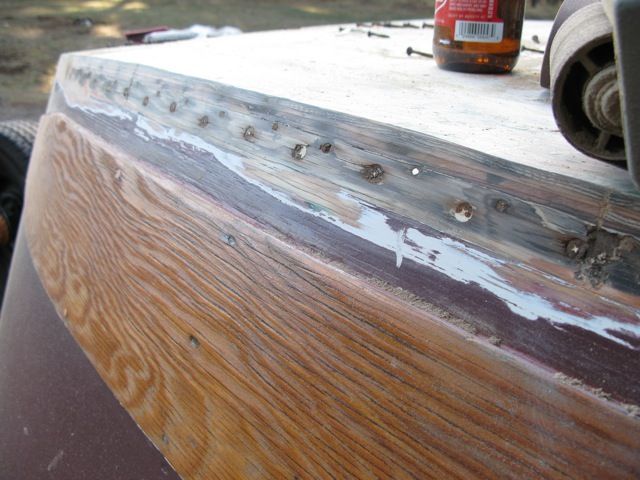
7. Finished removing one side! A short six-pack of Sessions Lager later and all gone with the cap on one side. You can kind of see in this photo that there is just a paper-thin bit of the chine cap left in some areas.
8. All cleaned up. A few quick (but somewhat careful) minutes with the belt sander loaded up with 100g and she's all cleaned up. All in all it doesn't look too bad . . . a little soft in some areas.
9. No help from the pooch.
That's as far as I'll get until I can make some more time. My plan from here (I'd love to have some experienced opinions on what next) in a nutshell:
1: Finish removing the other side
2: Round of edges of bottom
3: I don't think I'll mess with the screws holding the plywood side to the chine logs. They don't look too bad, but I'd like some advice there if anyone has any.
4: Probably use something like System3 Fairing Compound to fill the sanded area to seal it up and solidify it.
5: Sand bottom down through various un-identified layers (light colored, then green paint) to get down to the epoxy coat, avoiding getting into the glass.
6: Epoxy/Graphite coats on bottom (or Coat-It)
7: Chine caps and stainless strips installed as Randy Dersham and Sanderson (and others have advised)
More later if you are interested.
Views: 552
Comment
-
Comment by Tom Anderson on February 21, 2013 at 6:50am
-
Hey thanks for the reply Jason. That's a great idea. I was concerned about the bottom of the existing screw holes.
Just because it's on my mind, I'll probably go out tonight and pull a couple of the screws holding the side to the chine logs and see what they (and the wood they're in) look like
-
Comment by Jayson Hayes on February 21, 2013 at 6:36am
-
Tom, looks like its still in pretty good shape. what i like to do is use a glue syrenge and inject all the screw holes with some thined epoxy and let it sit an hour or so to penetrate really good and then go back and fill all the holes with some thickened epoxy.seal the edge up really good, install new chine caps, sand smooth to the bottom and sand the bottom to rough it up a bit and then run a few new flow coats of epoxy with graphite.
© 2026 Created by Randy Dersham.
Powered by
![]()
You need to be a member of Wooden Boat People to add comments!
Join Wooden Boat People