Black Eagle mini dory (was: baby Briggs build)
I love my big 17' Jerry Briggs-inspired Grand Canyon dory from Andy Hutchinson's plans, but she's way too big for day runs. Time to build a little boat.
10'-6" LOA
60" beam
36" floor width
~23" deep at the oarlocks
I made three paper mockups, and two smaller 1:12 tagboard mockups. One final 1:6 cardboard mockup before committing to plywood:
Cut the plywood. One piece ripped diagonally lengthwise, the bow panels out of the width of another sheet. Side panels 11'-10"
I was having a hard time getting straight scarfs with my saw jig, so I cleaned them up from here with a ROS and 60-grit. You want the ramps to all touch the previous sheet and the glue lines parallel. The top piece was really ugly and got re-cut entirely. This isn't fancy AA marine ply, just $30 AC ply from the box store. Not worried about knots; I'll be glassing the entire boat inside and out.
I like woodgrain. Used a latex exterior stain. Oil based stains can interfere with the epoxy joint.
Epoxy on the joint faces and clamped/screwed for the night.
Tags:
Replies to This Discussion
-
Permalink Reply by Shawn Baker on January 20, 2021 at 7:57am
-
19: the sides of the side hatch frames and 2 more hatch lips.
Should have done these hatch lips first on the largest stern hatch, as it needs the longest HDPE strips ... and they get cut down to do the smaller and smaller hatches.
-
Permalink Reply by Shawn Baker on January 21, 2021 at 7:15am
-
Day 20: 2 more lips. 11 down, 21 to go
-
Permalink Reply by Shawn Baker on January 25, 2021 at 8:25am
-
22: fillets and glass tape in the oarsman’s foot well.23: sanded the edges of the glass and fill coated it. Fill coated the bow hatch, glassed the tops of the side hatches.
Epoxy with chopped glass and thickened with flour for fillets, covered with 2" glass tape cut from plain weave cloth. If you cover the wet fillet with tape, you don't have to smooth it as much or sand all that loose glass!!Inside left hatch, first coat
Latch landing is visible in the upper left for the dog on the Southco latch. Way easier to cut while the board is loose than to try to chisel or cut with an oscillating tool.Inside left hatch, sanded the rough edges and second coat of epoxy.
Yeah, that's a big knot on the left. It's just a hatch landing and it has continuous support glued to the top of the bulkhead. Will get covered in glass..and is less wasteful than burning a board because of a knot in a non-structural location.
Glassed the side hatch lids and fill coated the bow hatch lid. Crazy stiff and strong with glass on both faces.
-
Permalink Reply by Rick Newman on January 25, 2021 at 9:45am
-
And the good work continues!
Rick
-
Permalink Reply by Shawn Baker on January 26, 2021 at 7:49am
-
24: fairing coat on the hatches and footwell
Shop vac hose is a little short, so I put it up in the boat so it will reach down into the footwell when sanding. I glassed the bulkheads so long ago I was worried about blush not letting the new epoxy stick, so I washed the surfaces with mild soapy water and wiped it dry. Then sanded with 80-grit.More fairing with epoxy and phenolic microballoons. I coated did the hatches off the deck, but set them on the boat for the photo this morning. any drips/sags were chiseled off while the epoxy is still soft-ish.
-
Permalink Reply by Rick Newman on January 26, 2021 at 9:27am
-
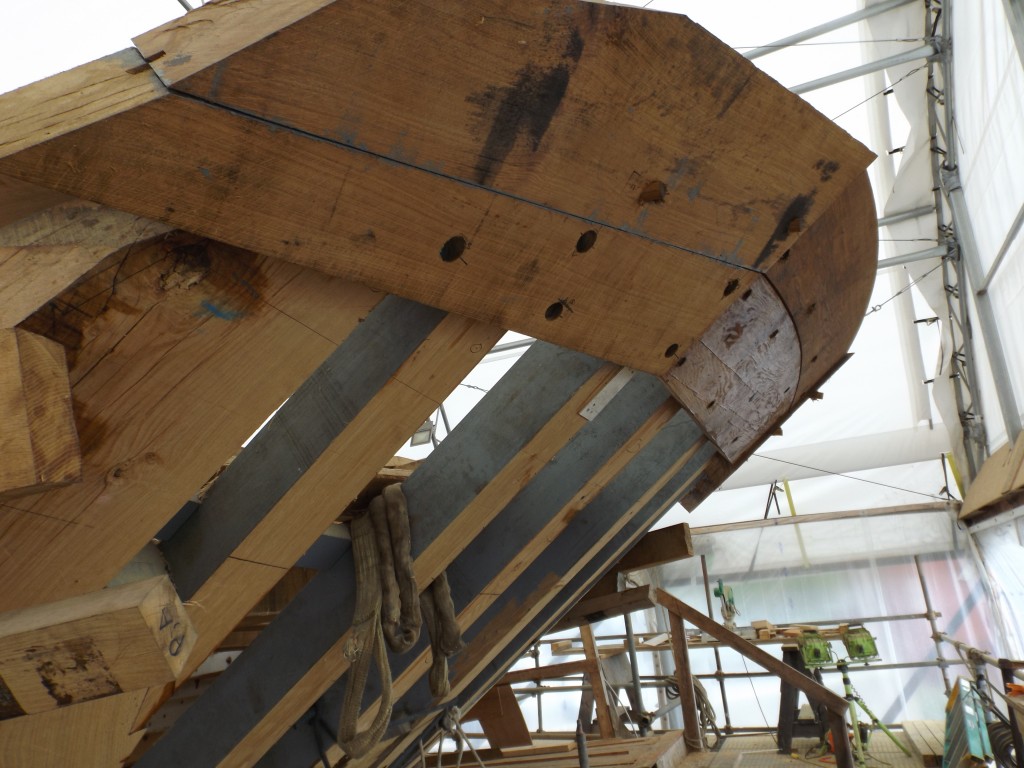
Continued good progress. I like the curved transom!
Rick
-
Permalink Reply by Shawn Baker on January 26, 2021 at 9:58am
-
inspired by Jason Cajune's full curve transoms...and curved ChrisCraft and sailboat transoms. :)
-
Permalink Reply by Rick Newman on January 26, 2021 at 10:03am
-
I didn't realize Chris Craft made curved transom! You are a craftsman!
Rick
-
Permalink Reply by Shawn Baker on January 26, 2021 at 10:09am
-
-
Permalink Reply by Rick Newman on January 26, 2021 at 11:18am
-
I never thought about an upside down curved transom. A picture is worth 1,000 words!
-
Permalink Reply by Shawn Baker on January 26, 2021 at 11:28am
-
To me it feels most like a schooner transom:

-
Permalink Reply by Shawn Baker on January 27, 2021 at 7:50am
-
25: short night, hatch lip 15. One more on the lids and 16 to go on the boat.
Also have the stern hatch lip riser going on in the background. the deck has a triple step. Lowest is the gutter. Next step up is where the hatch lip lands. Top is the deck lip. You can put weatherstripping on both upper steps for a super tight seal (like a drybox) and keep the weatherstripping out of the puddle and sand/silt, leaving the puddle clear to drain. Credit to a guy named Chris Towles in Wyoming for the double lip idea and sharing his insight with me.
Here's a pic of what the double lip looks like on the big boat. I could (but haven't needed to) add a gasket on the middle step of the deck so the lid lip would land on it. Trimlok gasket FTW!
© 2026 Created by Randy Dersham.
Powered by
![]()